
How It Works
Our AC Repair Process
A repair visit should be predictable. This page describes the sequence from the first phone call through verification, and what you should expect to be told at each stage.
Step 1: The Call
The initial conversation gathers the details that shape the visit: what the system is doing, when it started, whether it is intermittent, the approximate age of the equipment, and whether anyone in the home is particularly vulnerable to the heat.
This is also where scheduling expectations and diagnostic fees are discussed, so there is no ambiguity when the technician arrives.
Step 2: On-Site Assessment
The visit starts with the thermostat and works outward: verifying the call for cooling, observing what runs, and checking the obvious contributors such as filter condition, register obstruction, drain pan status, and outdoor unit clearance.
These checks are quick, and they frequently resolve or reframe the complaint before any instruments come out.
Step 3: Measurement and Diagnosis
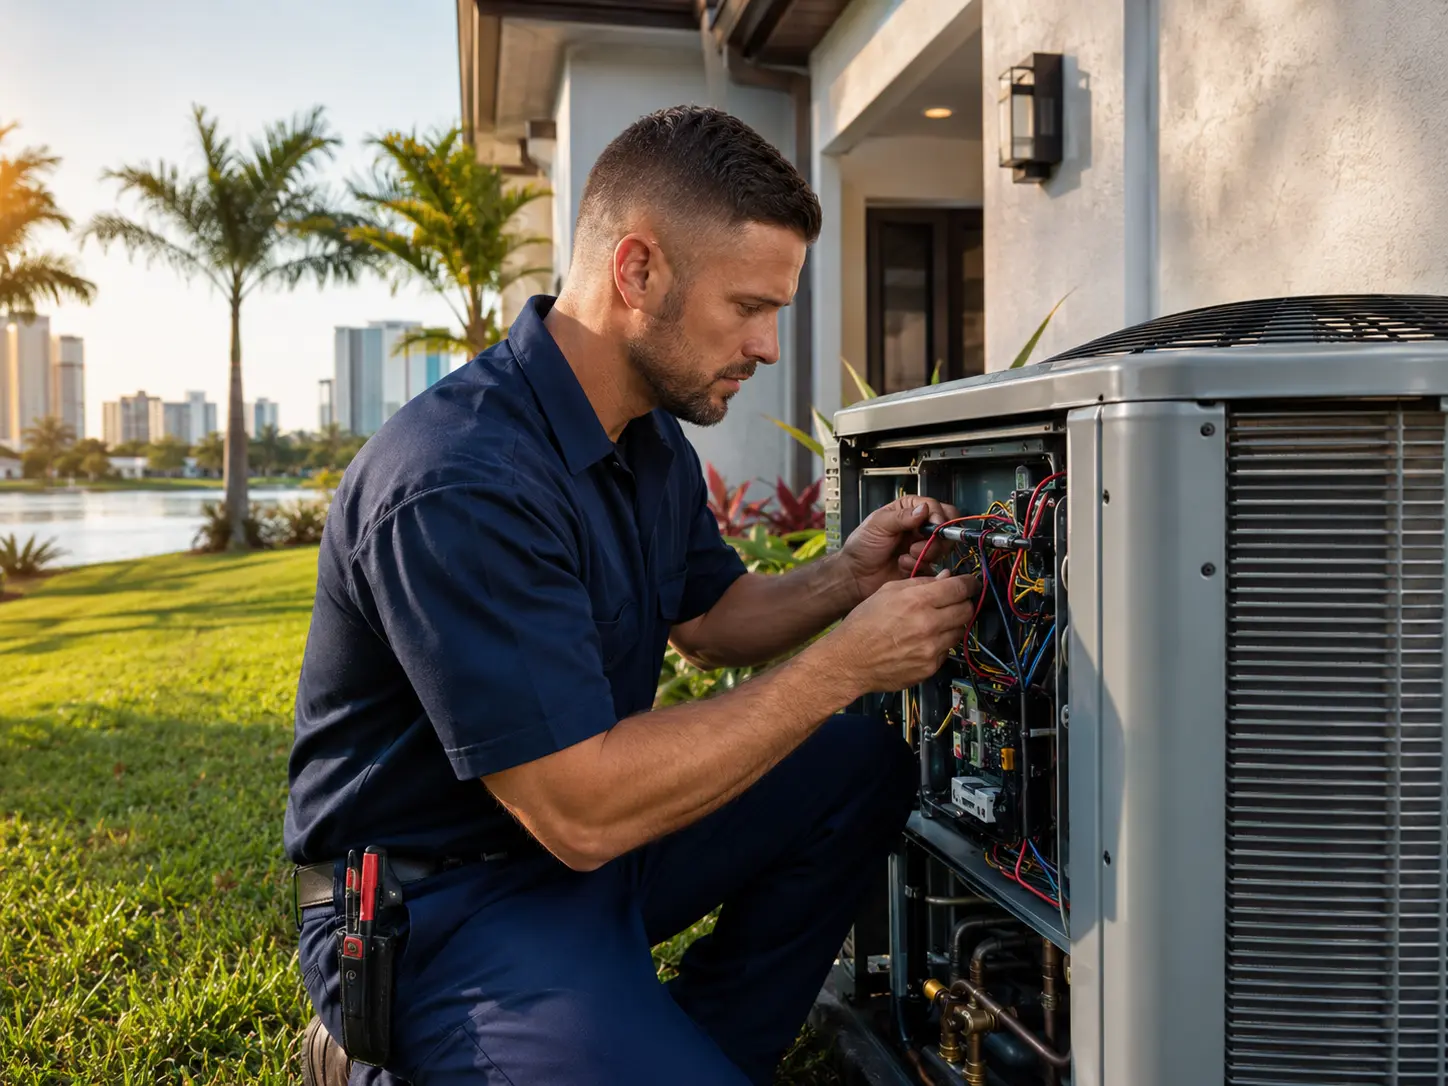
Confirmation comes from numbers: capacitor microfarads against rating, motor amperage against nameplate, refrigerant pressures with superheat and subcooling, temperature split across the coil, and static pressure where airflow is in question.
The objective is to identify both the failure and its cause. Replacing a part without understanding why it failed usually means replacing it again.
Step 4: Explanation Before Work
You should hear what failed, what caused it, what the repair involves, what it costs, and what happens if the repair is deferred. For major repairs, the comparison against replacement should be part of that conversation rather than an afterthought.
Nothing beyond the agreed diagnostic scope should proceed without your approval.
Step 5: Repair and Verification
After the repair, operation is verified under load rather than assumed. That means confirming the system starts and runs correctly, rechecking the measurements that identified the fault, and confirming the temperature split and drainage are behaving.
You should also be told about any related condition that was observed but not repaired, so it is a known item rather than a surprise next season.
Step 6: After the Visit
Documentation matters more than people expect. Keeping the invoice with the measurements, the part replaced, and the date creates a service history that informs the eventual repair-versus-replace decision.
If the same symptom returns, that record is the fastest way to determine whether the original cause was addressed.
Answers
Frequently Asked Questions
How long does a typical diagnostic visit take?
Straightforward faults are often identified within the first hour. Intermittent problems and refrigerant leak searches take longer because the system must be observed under operating conditions.
Will I be told the cost before work begins?
Yes. Diagnosis comes first, then the repair scope and cost are explained, and work proceeds only after approval.
What if the problem cannot be reproduced?
Intermittent faults sometimes require operating the system under load or returning during the conditions when it fails. Documenting when it happens helps considerably.
Do you explain what caused the failure?
That is the point of the diagnosis. A part failed because of something, and knowing what prevents a repeat visit for the same issue.
Related Pages
Discuss Your AC Problem
Describe what your system is doing and get repair information for your Orlando home.